Thursday, June 11, 2015
Card and wallet holder tutorial
 |
Fold the paper in half vertically and crease the fold crisply. You can use a bone folder or a credit card to make a clean fold. |
 |
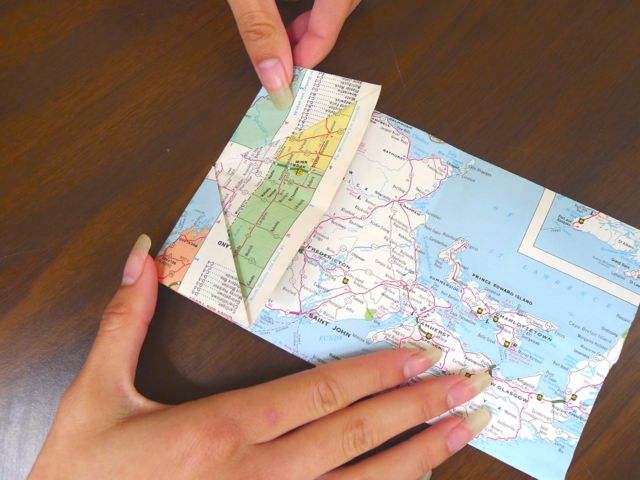
Open the paper and take each side and fold just shy of the center. Leave a gap. About 1/8 of an inch. I don't measure but just do not fold to the center or past the center of the paper. |
 |
Here is another photo to show this fold. |
 |
Now for the final fold you take the top and fold it under the bottom triangles. You can test the distance of how much to fold in by using a credit card as a guide. |
 |
Tuck in the folds and crease the paper for your completed card holder! |
 |
You have six pockets to put items in. The two sides with the triangle folds. |
 |
You can also tuck cards into the side too and the back side as well. (not pictured) I will try to post later some other versions of this wallet/card holder soon. School just ended for my son today so I finally got to sneak this post in-- as summer officially started today! And that I hope means more time to re-create and less driving! These little holders are great for putting gift cards in for presents. In fact this map one would be great to put in a gas card in for a gift or tuck in money for a trip. (Thank you to my daughter for being my hand model and once again to friend Pamela at cappuccinoandartjournal.blogspot.com for her blog help) |
Subscribe to:
Posts (Atom)


